This application is designed to work with Email directly in Telegram, it is part of the MegaPort bot.


You can ask questions and discuss this app in the group
https://t.me/megaport_group/41
The first thing you need to do is go to the app's settings:
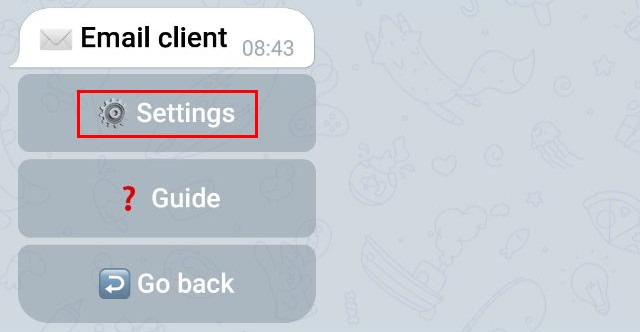
You'll be taken to the settings menu:
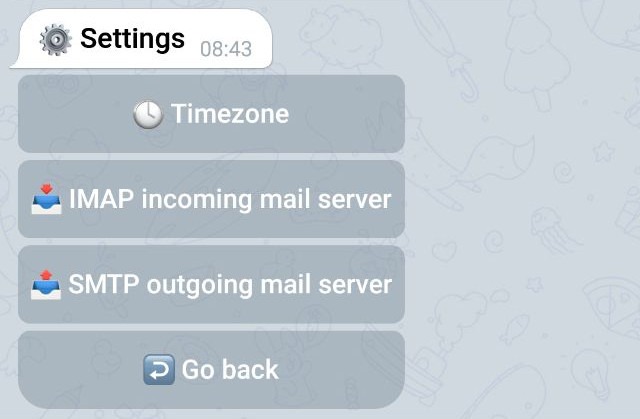
This setting allows you to synchronize the time that the bot shows for received messages with your local time. For example, if the bot shows that the message was received at 16:00 and according to your local time it happened at 14:00, then you should enter -2 for correction.
This is not a required setting, you can either not specify it at all, or do it later.
At the moment, the bot can only work using the IMAP protocol.
You should enter all the necessary settings for this:
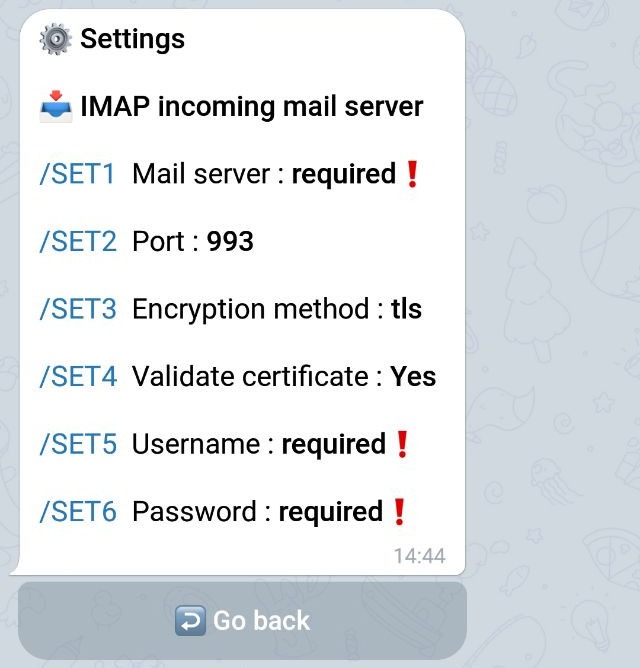
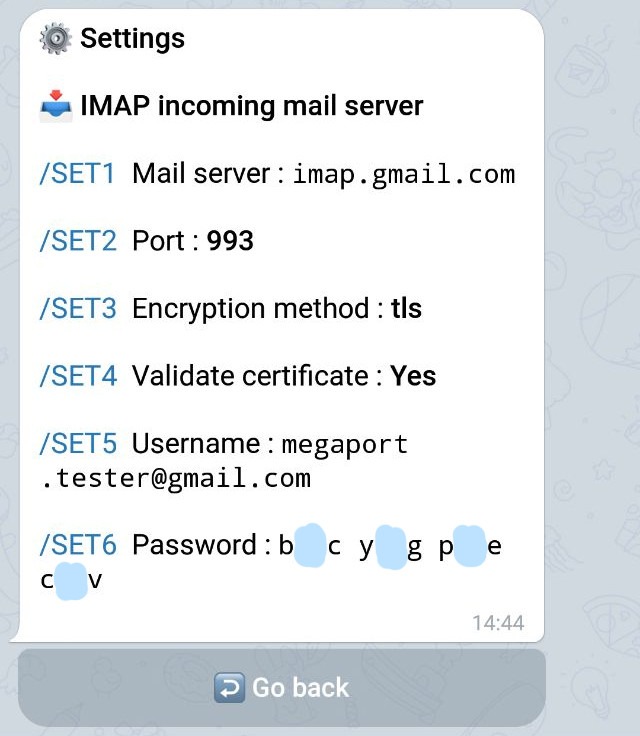
If you want to use Gmail, you must first create an app password for your Google account and then use it as your email password. Here you can read how it's done.
For Gmail, you only need to specify these three parameters:
For other email services, you may also need to change the port number and the encryption method.
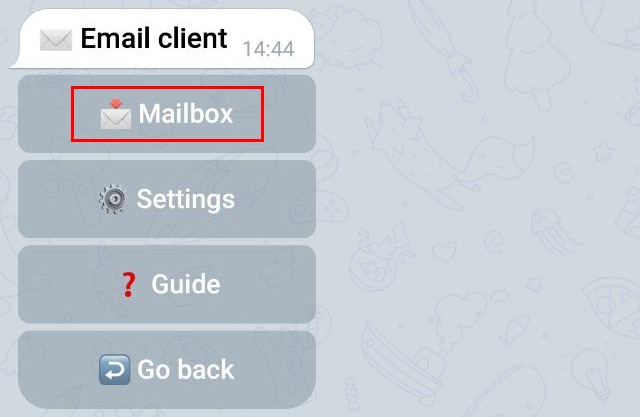
After returning to the main menu, you will have a new menu item [Mailbox], go to it:
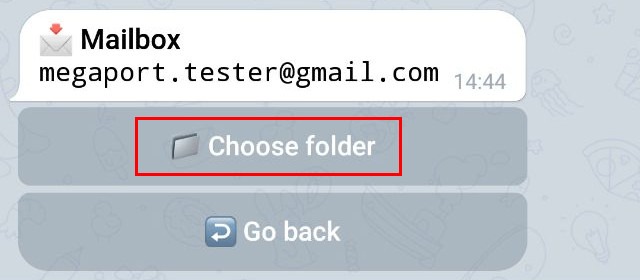
Initially, until the bot checks the connection to your mail server, you have access to only one menu item [Choose folder], go to it:
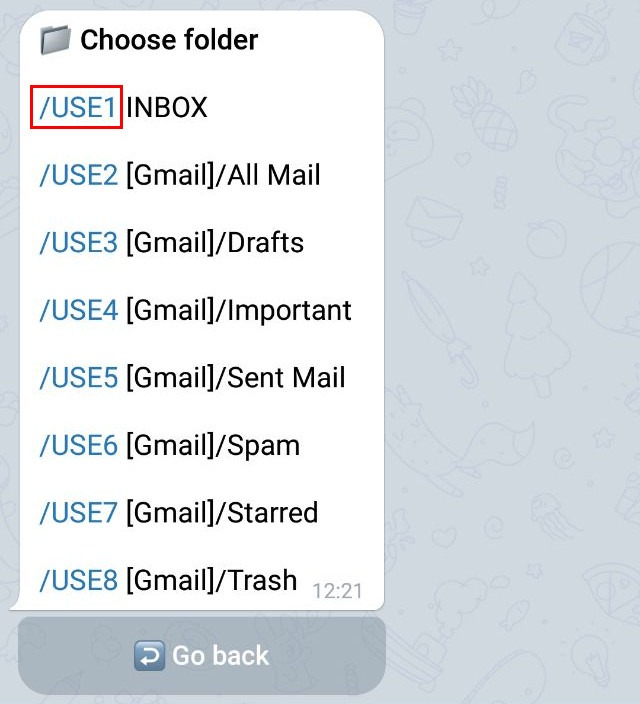
The bot can only view one of the folders available on the mail server. Usually incoming mails come to the INBOX folder, you can select it by taping on /USE1
You can select any other folder if you want to view its contents.
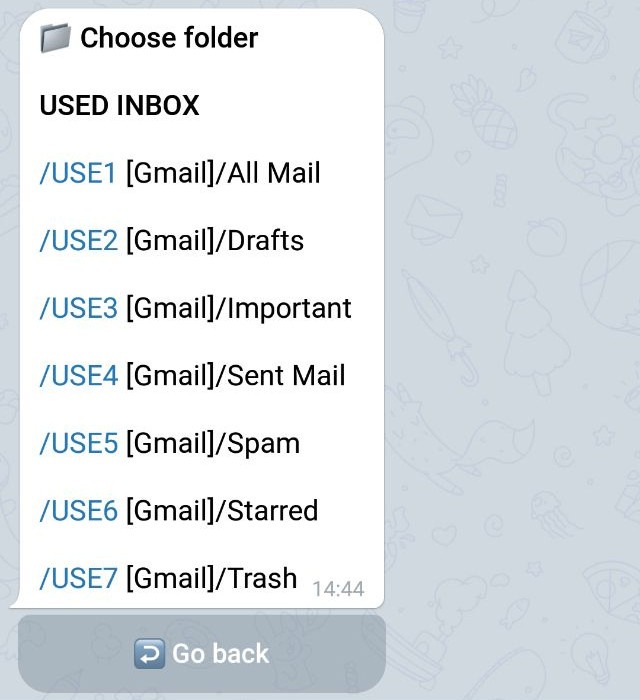
After this, the bot will either notify you of a connection error and then you will need to correct your settings, or the desired folder will be selected:
After returning to the mailbox, the selected folder will appear in the header, and a new item [Check mail] will appear in the menu, tap on it:
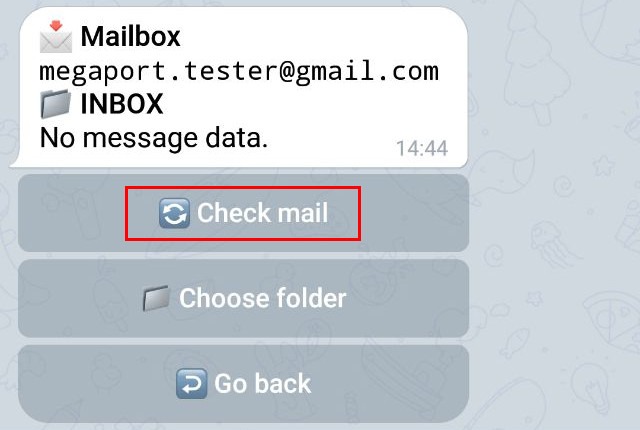
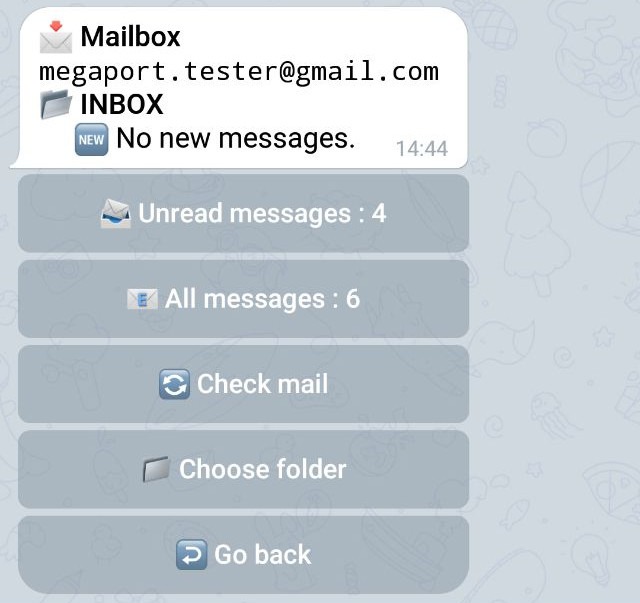
The bot will check the selected folder on the server and if there are any messages there, bot will update the menu:
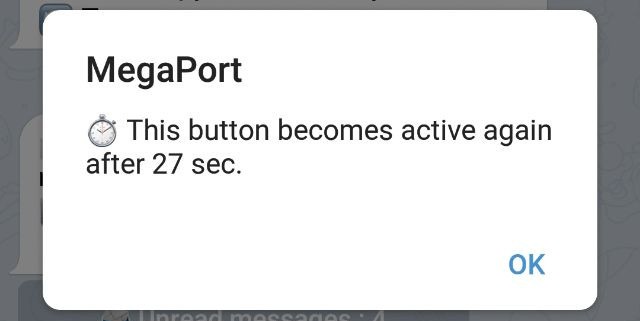
You can check the folder on the mail server by taping on the [Check mail] menu item or change the folder by taping on [Choose folder] no more than once every 30 seconds, if you try to do this earlier, the bot will send you a notification:
After the first successful update of message data, the bot will periodically check the currently selected folder for new messages. If the bot finds new messages, it will send you the following notification:

And if you then tap on [Check mail], you'll see the new messages in the folder:
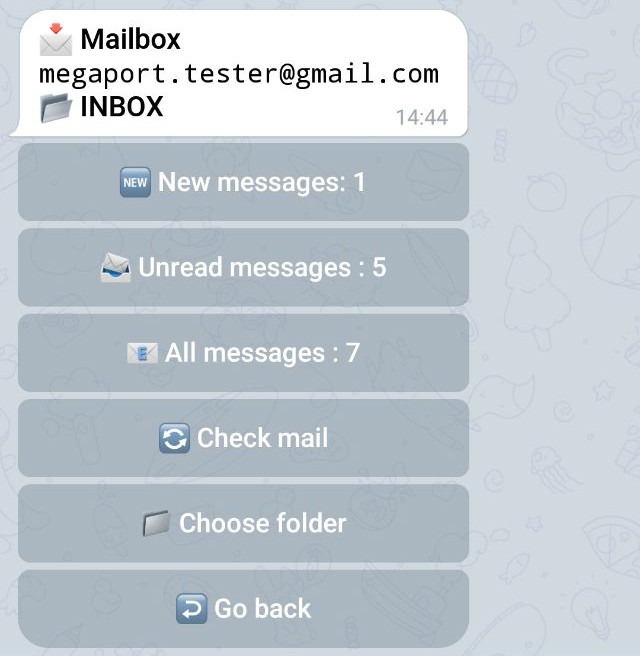
In this menu the number of messages in the list is indicated near each of the [New messages],
[Unread messages], [All messages] lists.
If you tap on any of these lists in the menu, you will see something like this menu for viewing the list of messages:
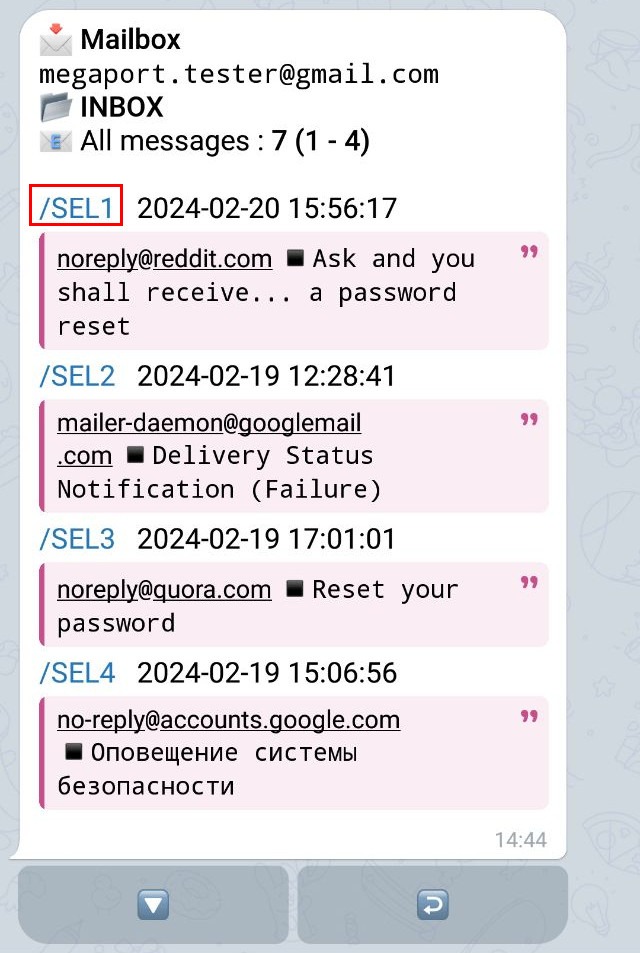
This viewing menu displays four messages at a time, the 🔽🔼 buttons are used to move to the next or previous four messages in the list, and the ↩️ button is used to return to the mailbox menu.
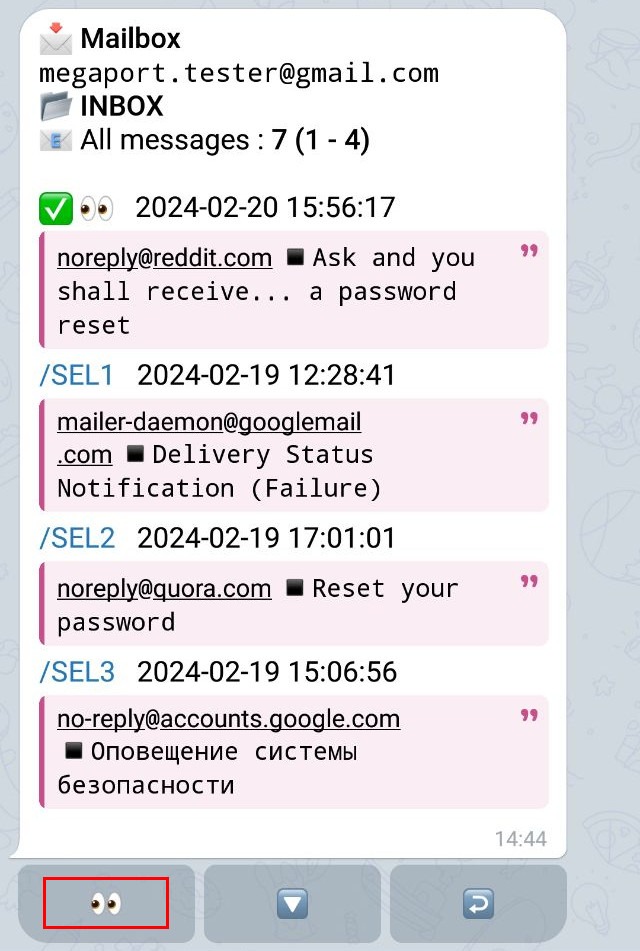
If you want to read one message out of these four in full, then you need to tap on /SEL1 to select the first message for example. After this, a selection icon will appear near the message, and in the bottom menu there will be a button with eyes 👀, taping on which will take you to the message viewing menu:
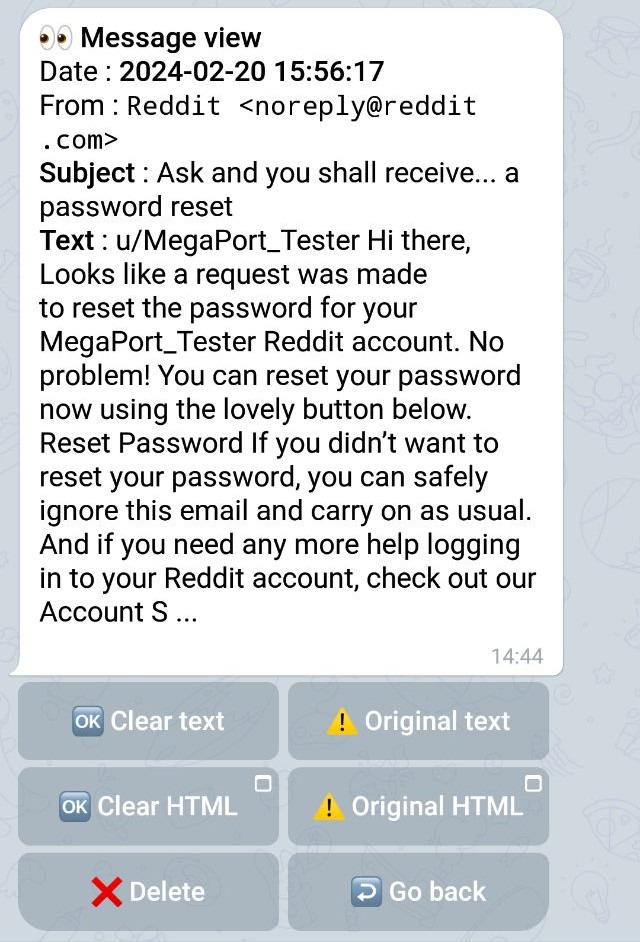
You may have up to four options for viewing a received message, depending on message format:
To view it in the Web App, you will need to agree with the warning from Telegram.
Viewing the text looks something like this:
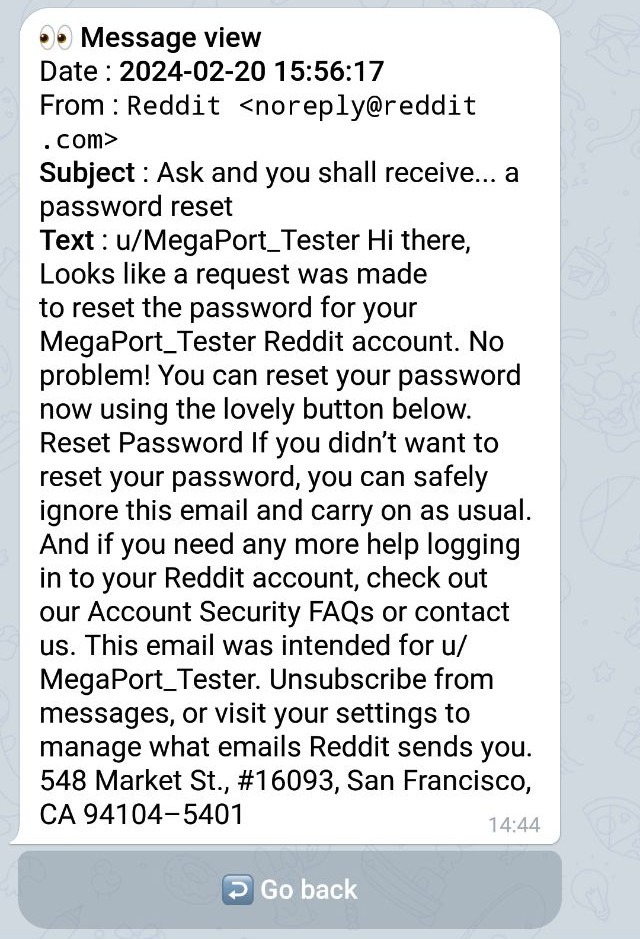
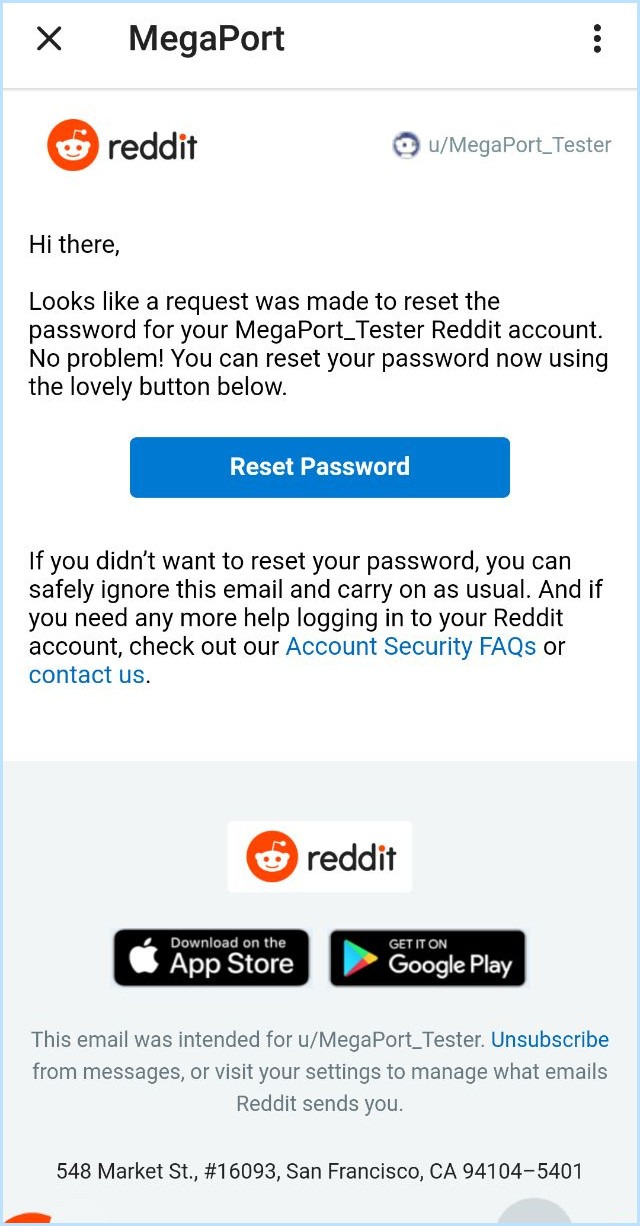
Viewing the HTML looks something like this:
You can also delete a message by taping the [Delete] button. The bot will ask you for confirmation of deletion:
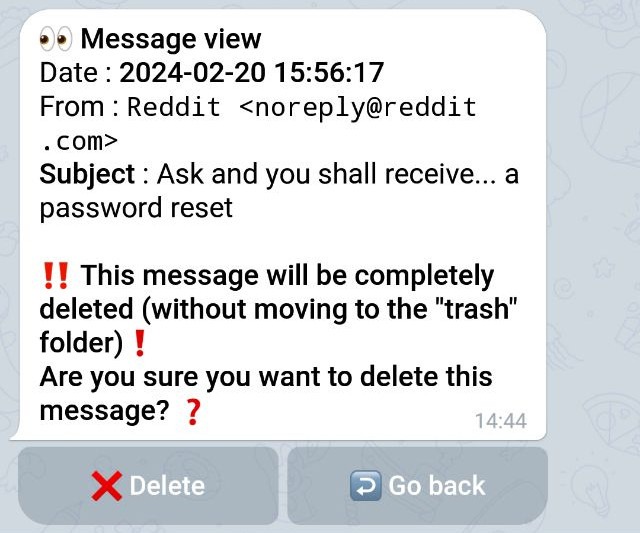
Please note that if you confirm the deletion, the message will be completely and permanently deleted from the folder on the server without the possibility of restoring it!
To send email messages you need to set up an outgoing mail server:
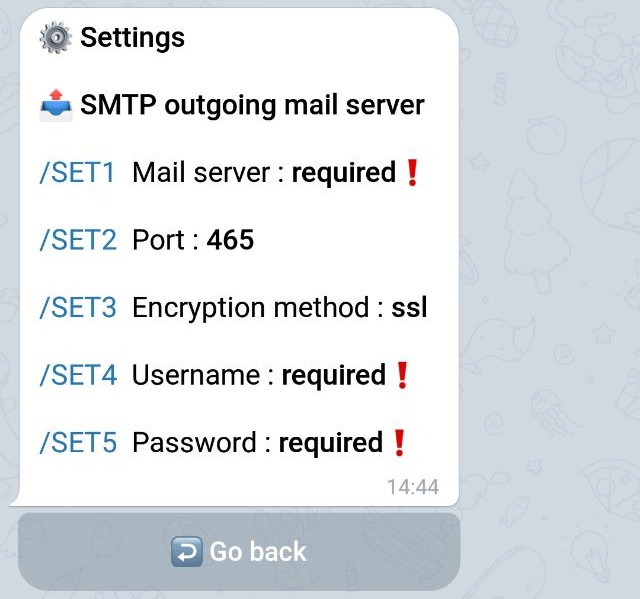
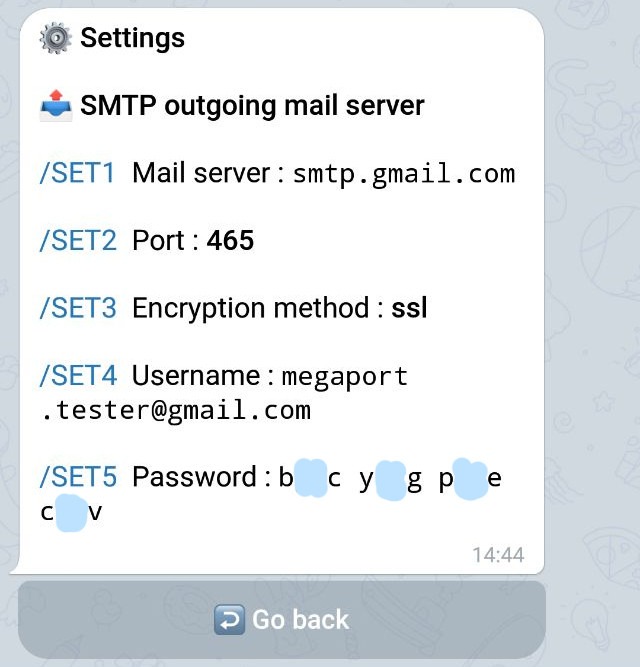
As with the incoming mail server for Gmail, you only need to specify these three parameters:
For other email services, you may also need to change the port number and the encryption method.
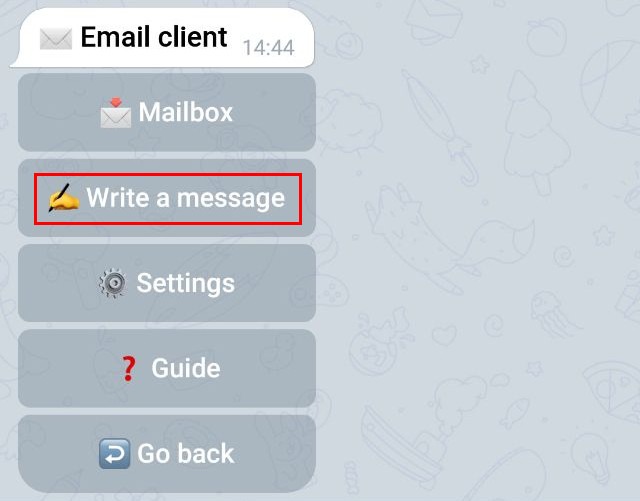
After returning to the main menu, you will have a new menu item [Write a message], go to it:
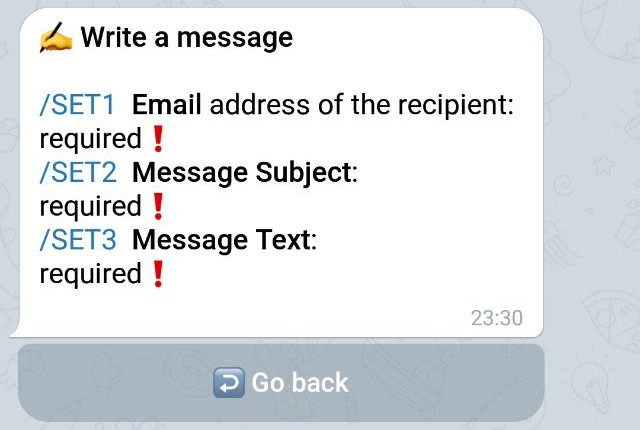
You'll be taken to the message preparation menu:
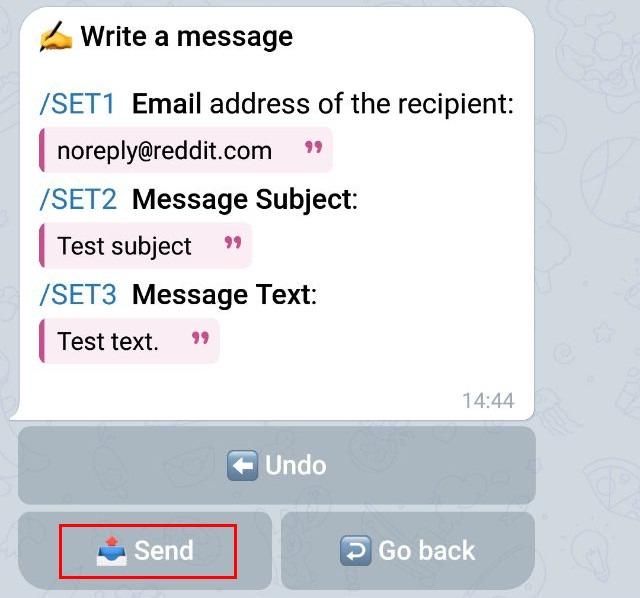
After you fill out all three fields of the letter, you will see the [Send] button.
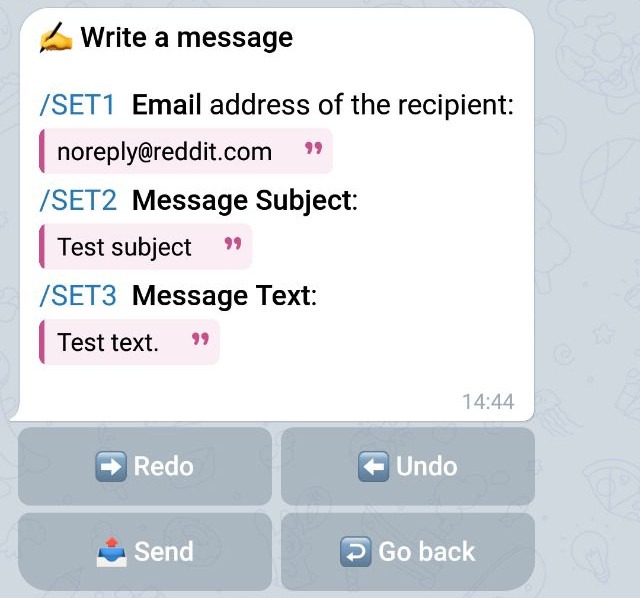
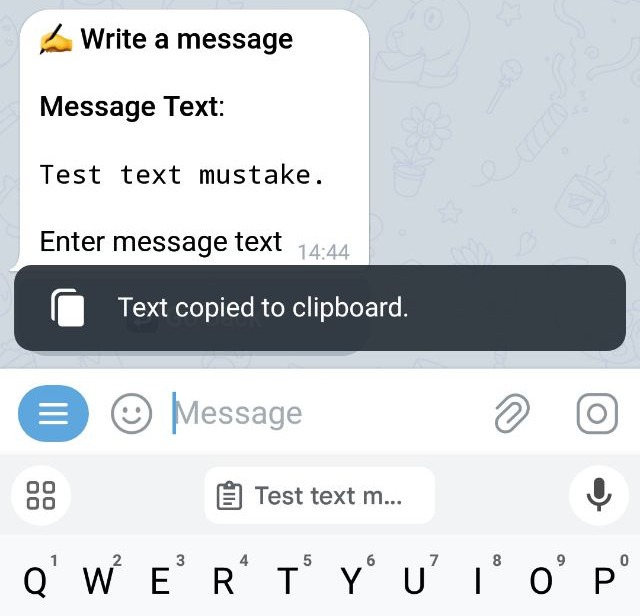
You can also use the [Redo] and [Undo] buttons to repeat or undo the last action. If you made a mistake while typing a message, then when editing the text:
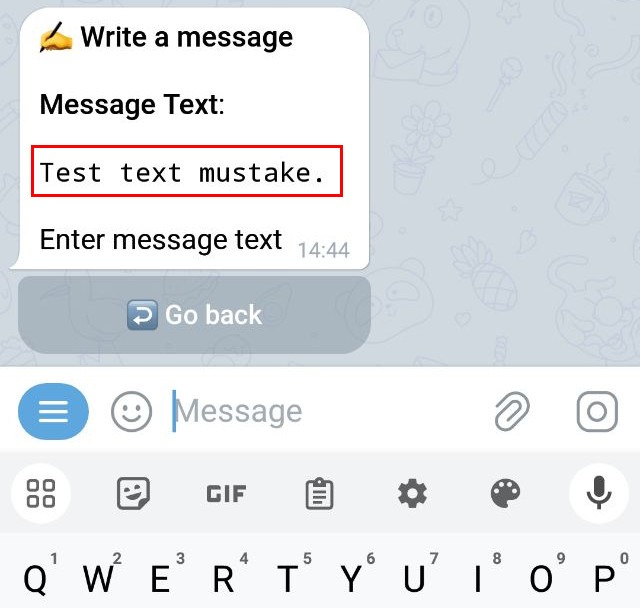
you can tap on the previously entered text and it will be copied to the clipboard:
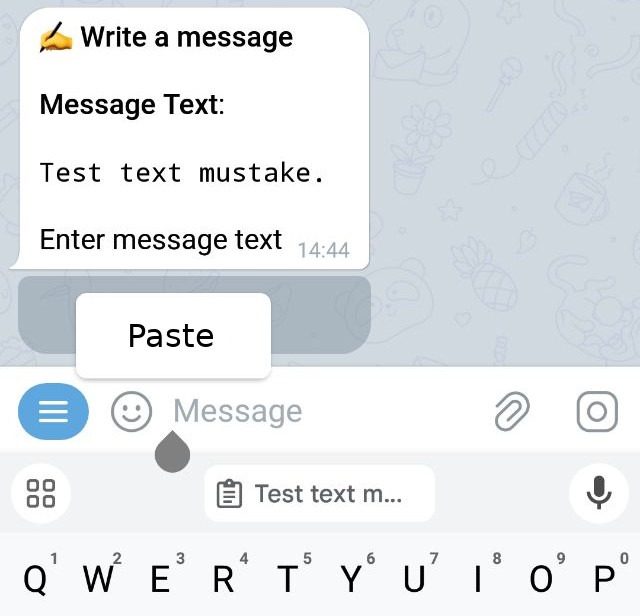
Next, you can paste it into the message input field:
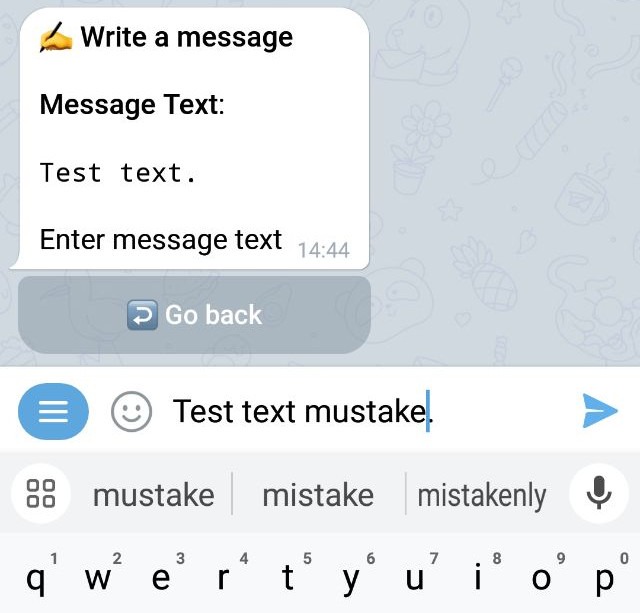
And fix the error:
You can exit the message preparation menu at any time and return to it to continue later, all data will be saved. Finally, when you have decided that the message is ready to be sent, tap on the [Send] button:
The bot will ask for confirmation of sending:
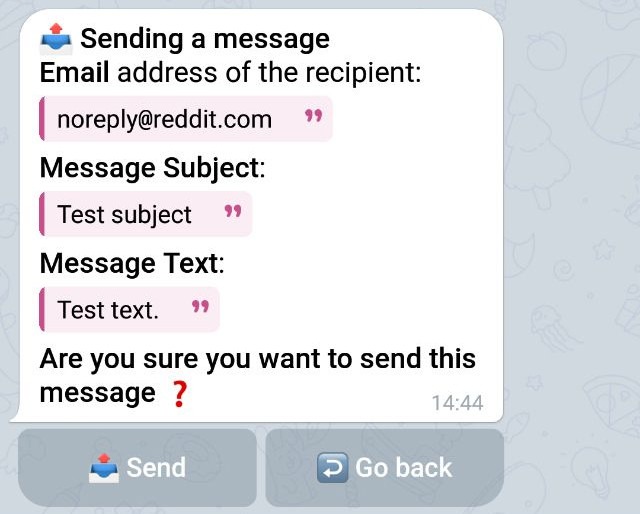
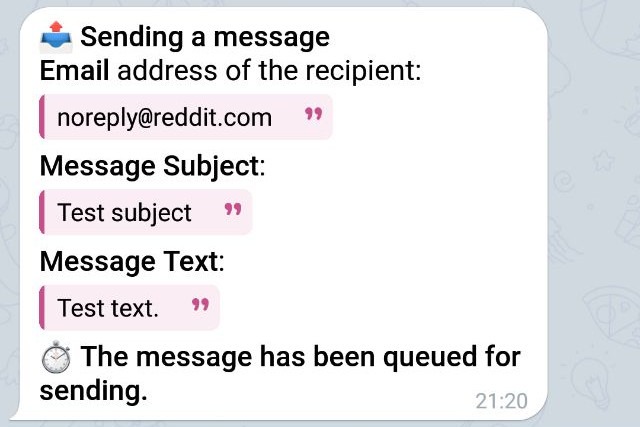
After confirmation, the bot will queue the message for sending and send a notification:
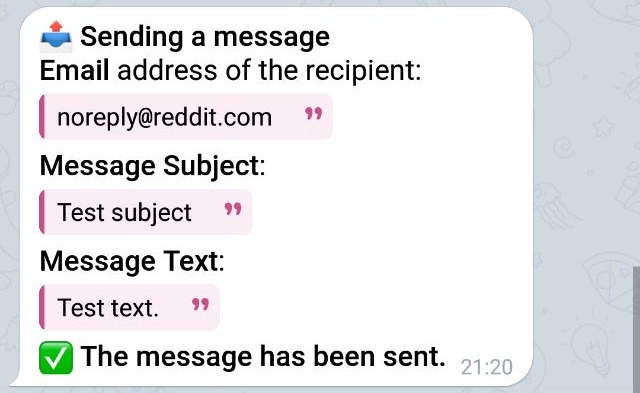
After the message has been sent, you will receive a new notification:
After the first successful sending of a message, the [Reply] button will become available to you in the message viewing menu. Where you can reply to a message you are viewing:
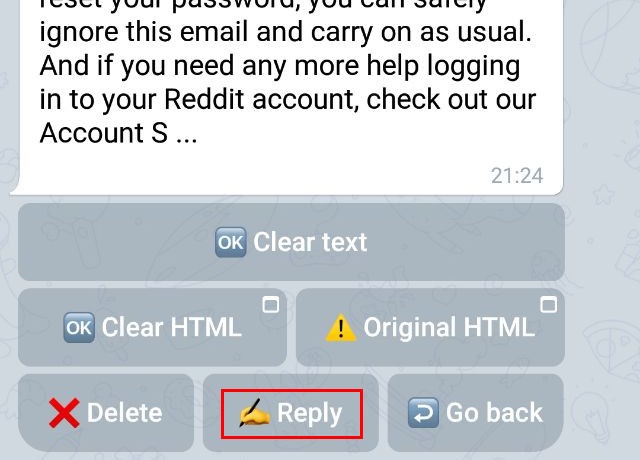
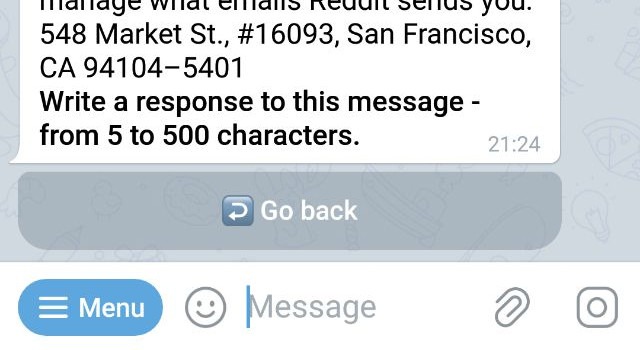
If you tap on the [Reply] button, the bot will prompt you to enter a response to the message you are viewing in the text input field:
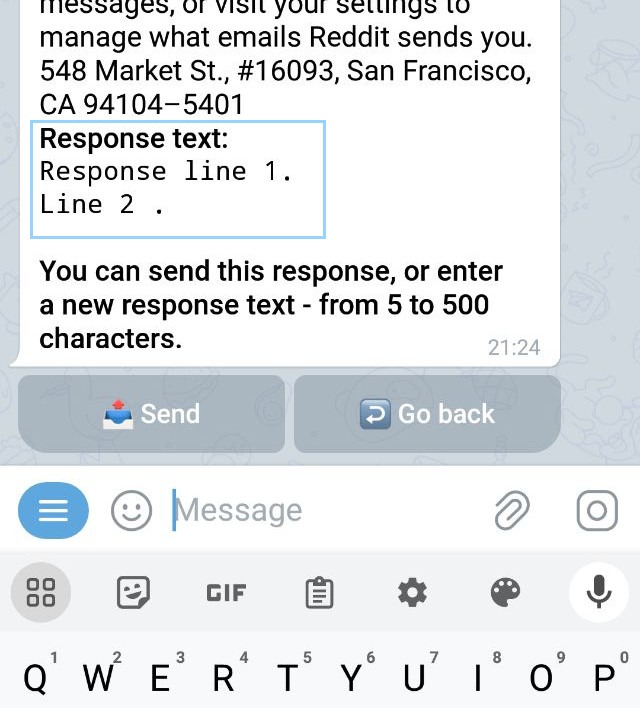
After entering your response, you can either correct it (by typing the text again), send a response email, or return to viewing the message:
If you have any problems, please contact the group
https://t.me/megaport_group/41
This page in Russian.